Mallard
Mallard is a Chrome devtool extension that can turn any webpage into a contextualized prototyping environment for Machine Learning. More details can be found in our UIST2019 paper Mallard: Turn the Web into a Contextualized Prototyping Environment for Machine Learning.
Installation
Currently, Mallard is distributed as an unpacked extension. You will need to use the Load unpacked functionality in the chrome://extension panel to install it. Use this link to download the latest build.
Mallard Workflow
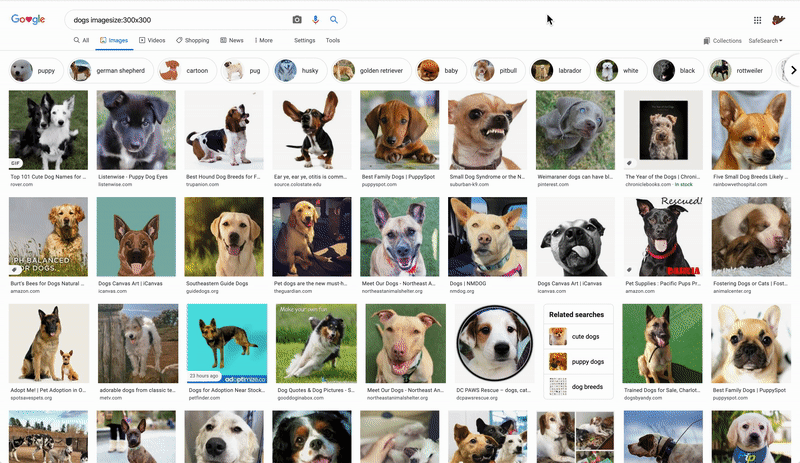
Here we show show some of the Mallard basic functionalities by walking through an example of transfering image styles on Google Image Search using Convolutional Neural Nets, TensorFlow.js and ml5.js. This is also the example we primarily demonstrated in the paper.
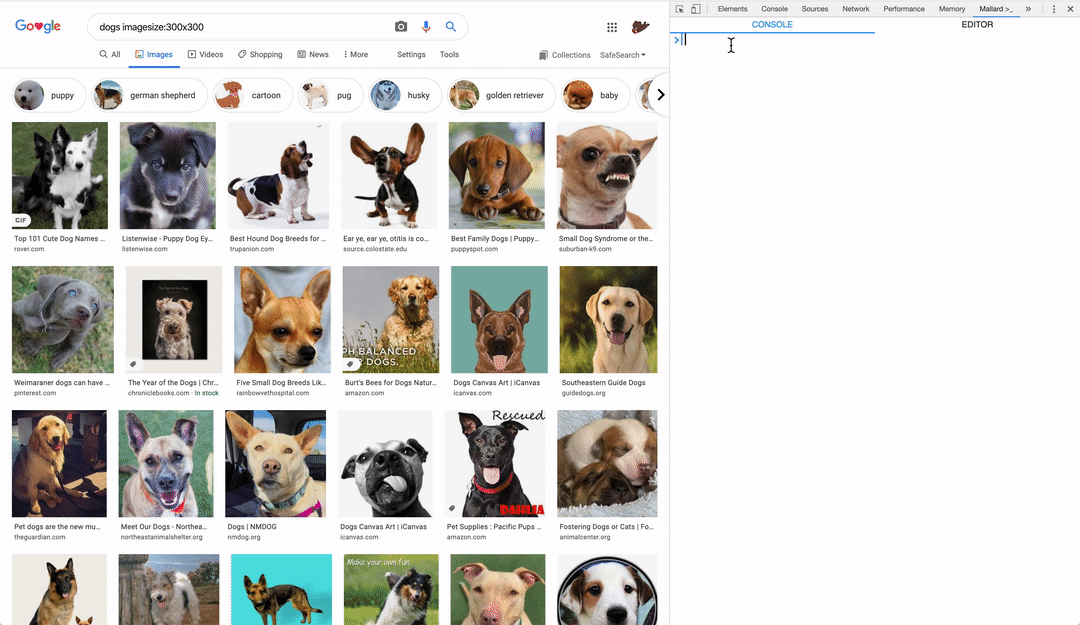
Activate Mallard from Devtools
Mallard sits in the devtool panel of the browser. To activate it, first open the devtool by “View ➔ Developer ➔ Developer Tools” (or ⌘ + ⌥ + I), then find the Mallard pane.
GIF Demo
Acquire Data from Webpage Context
To convert multi-media data into programmable obejcts in Mallard, we have two options: simply drag and drop the data of interest, or right click on it. Mallard supports data acquiring of text, images, videos, and tabular datasets.
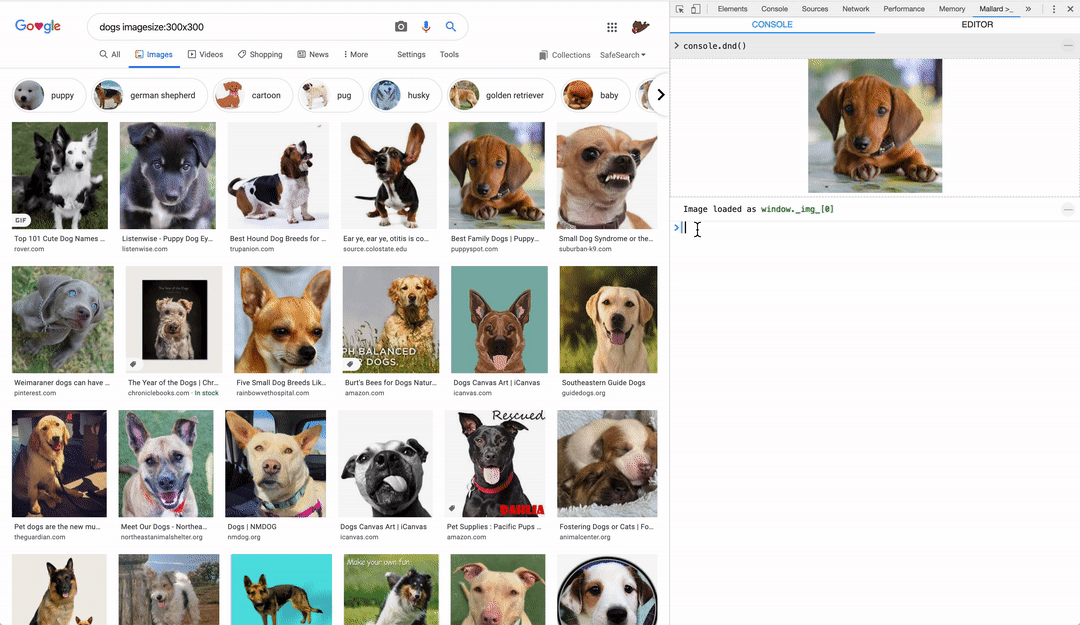
Drag and Drop
Use a console.dnd() function to open the drop area first, then drag the data from the original host page to the drop area.
GIF Demo
Right click and inspect
Right click on the data then choose “Mallard ➔ Import Data” to acquire.
GIF Demo

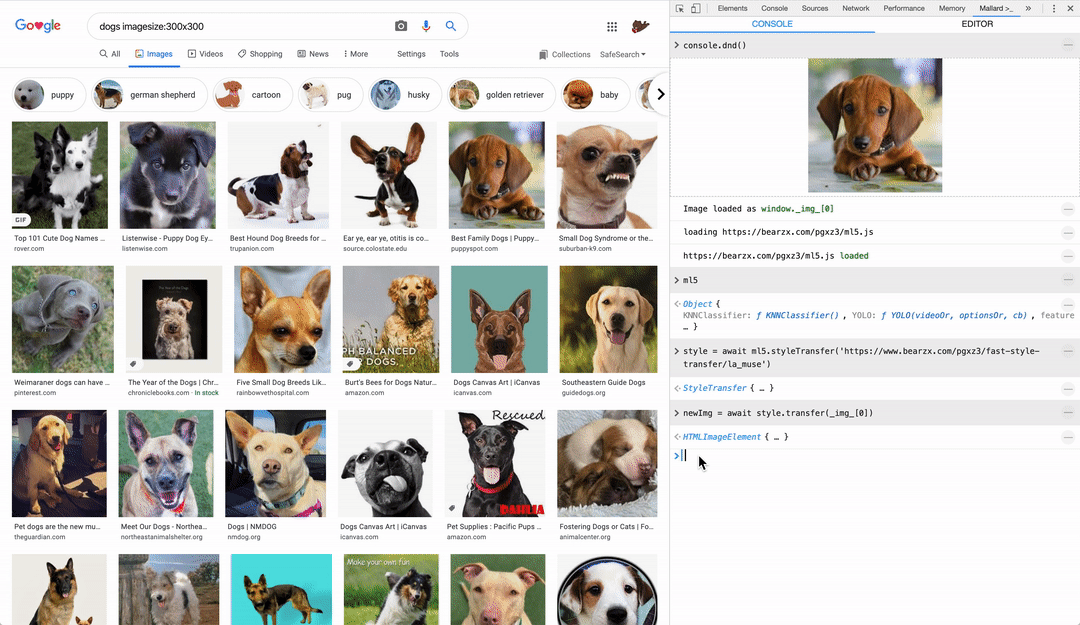
The acquired data is stored in dedicated arrays (e.g. _img_ for image).
Import External Libraries
Mallard has a few handy JS libraries built-in (e.g. ml5, TensorFlow, dataframe-js) that can be imported by a name. You can also import any library available on the web via a URL. To import, use :load <lib>, where <lib> is the name or URL of the library.
GIF Demo
Code in the REPL
Once we have the data and library ready, we can start writing our code to load or train models, and test on the data. Mallard mimics the built-in browser console to provide a REPL style experience.
GIF Demo
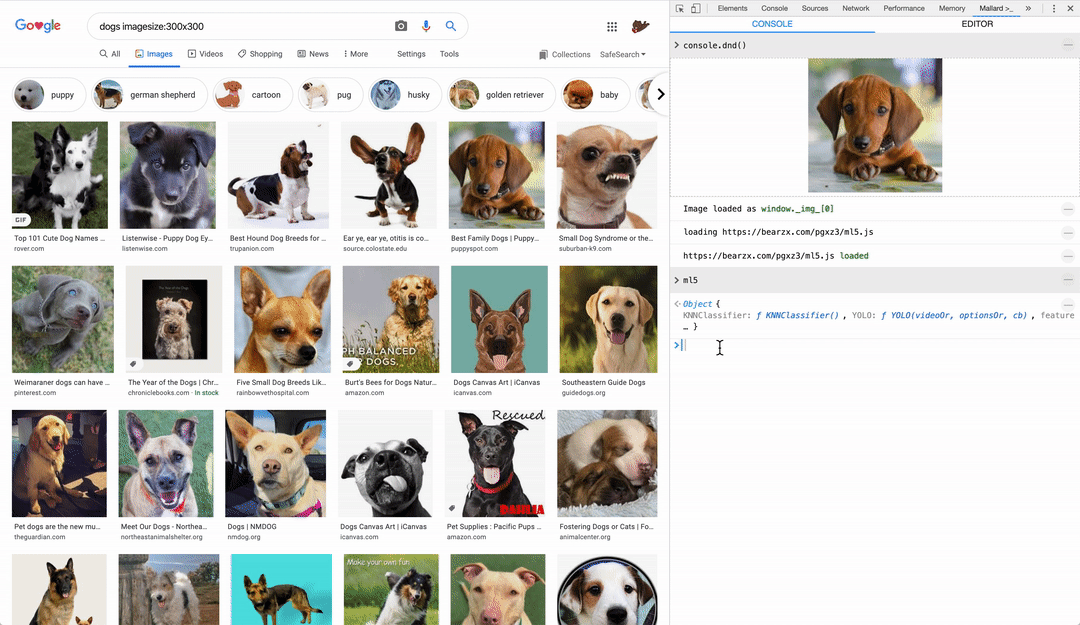
In the adove demo we first use ml5 to load a CNN model from a remote URL:
style = await ml5.styleTransfer('https://www.bearzx.com/pgxz3/fast-style-transfer/la_muse')
Note here we use await to resolve async function calls.
Then we use the model to transfer the image we just acquired:
newImg = await style.transfer(_img_[0])
Now, newImg holds our results.
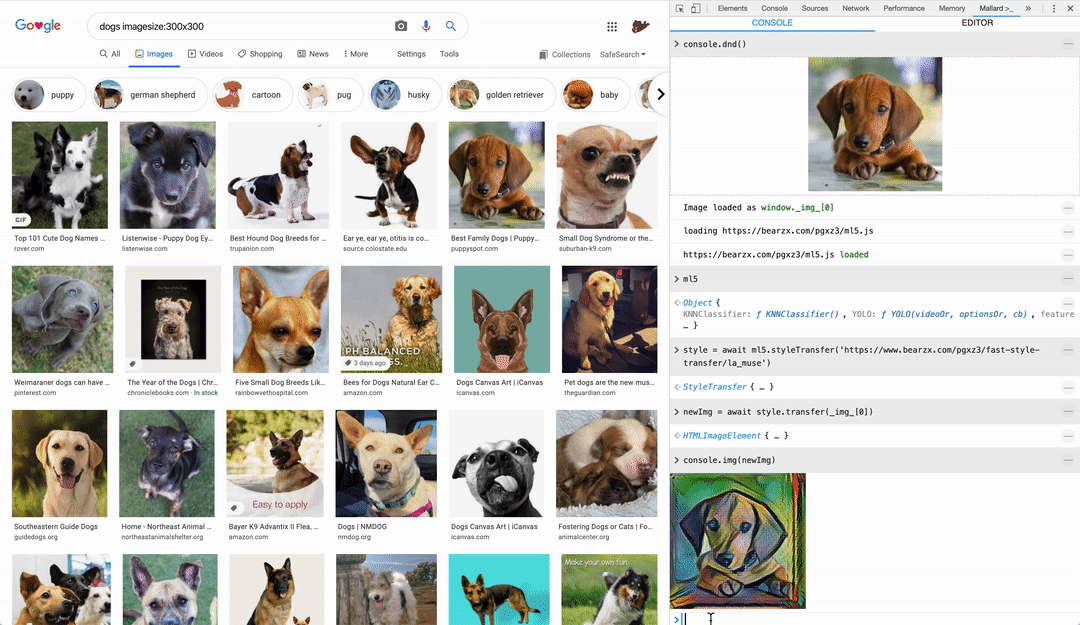
Visualize Code Outputs
To help better understand and debug code, Mallard provides several visualization functions to show data in different forms. For example, console.img can be used to show images.
GIF Demo
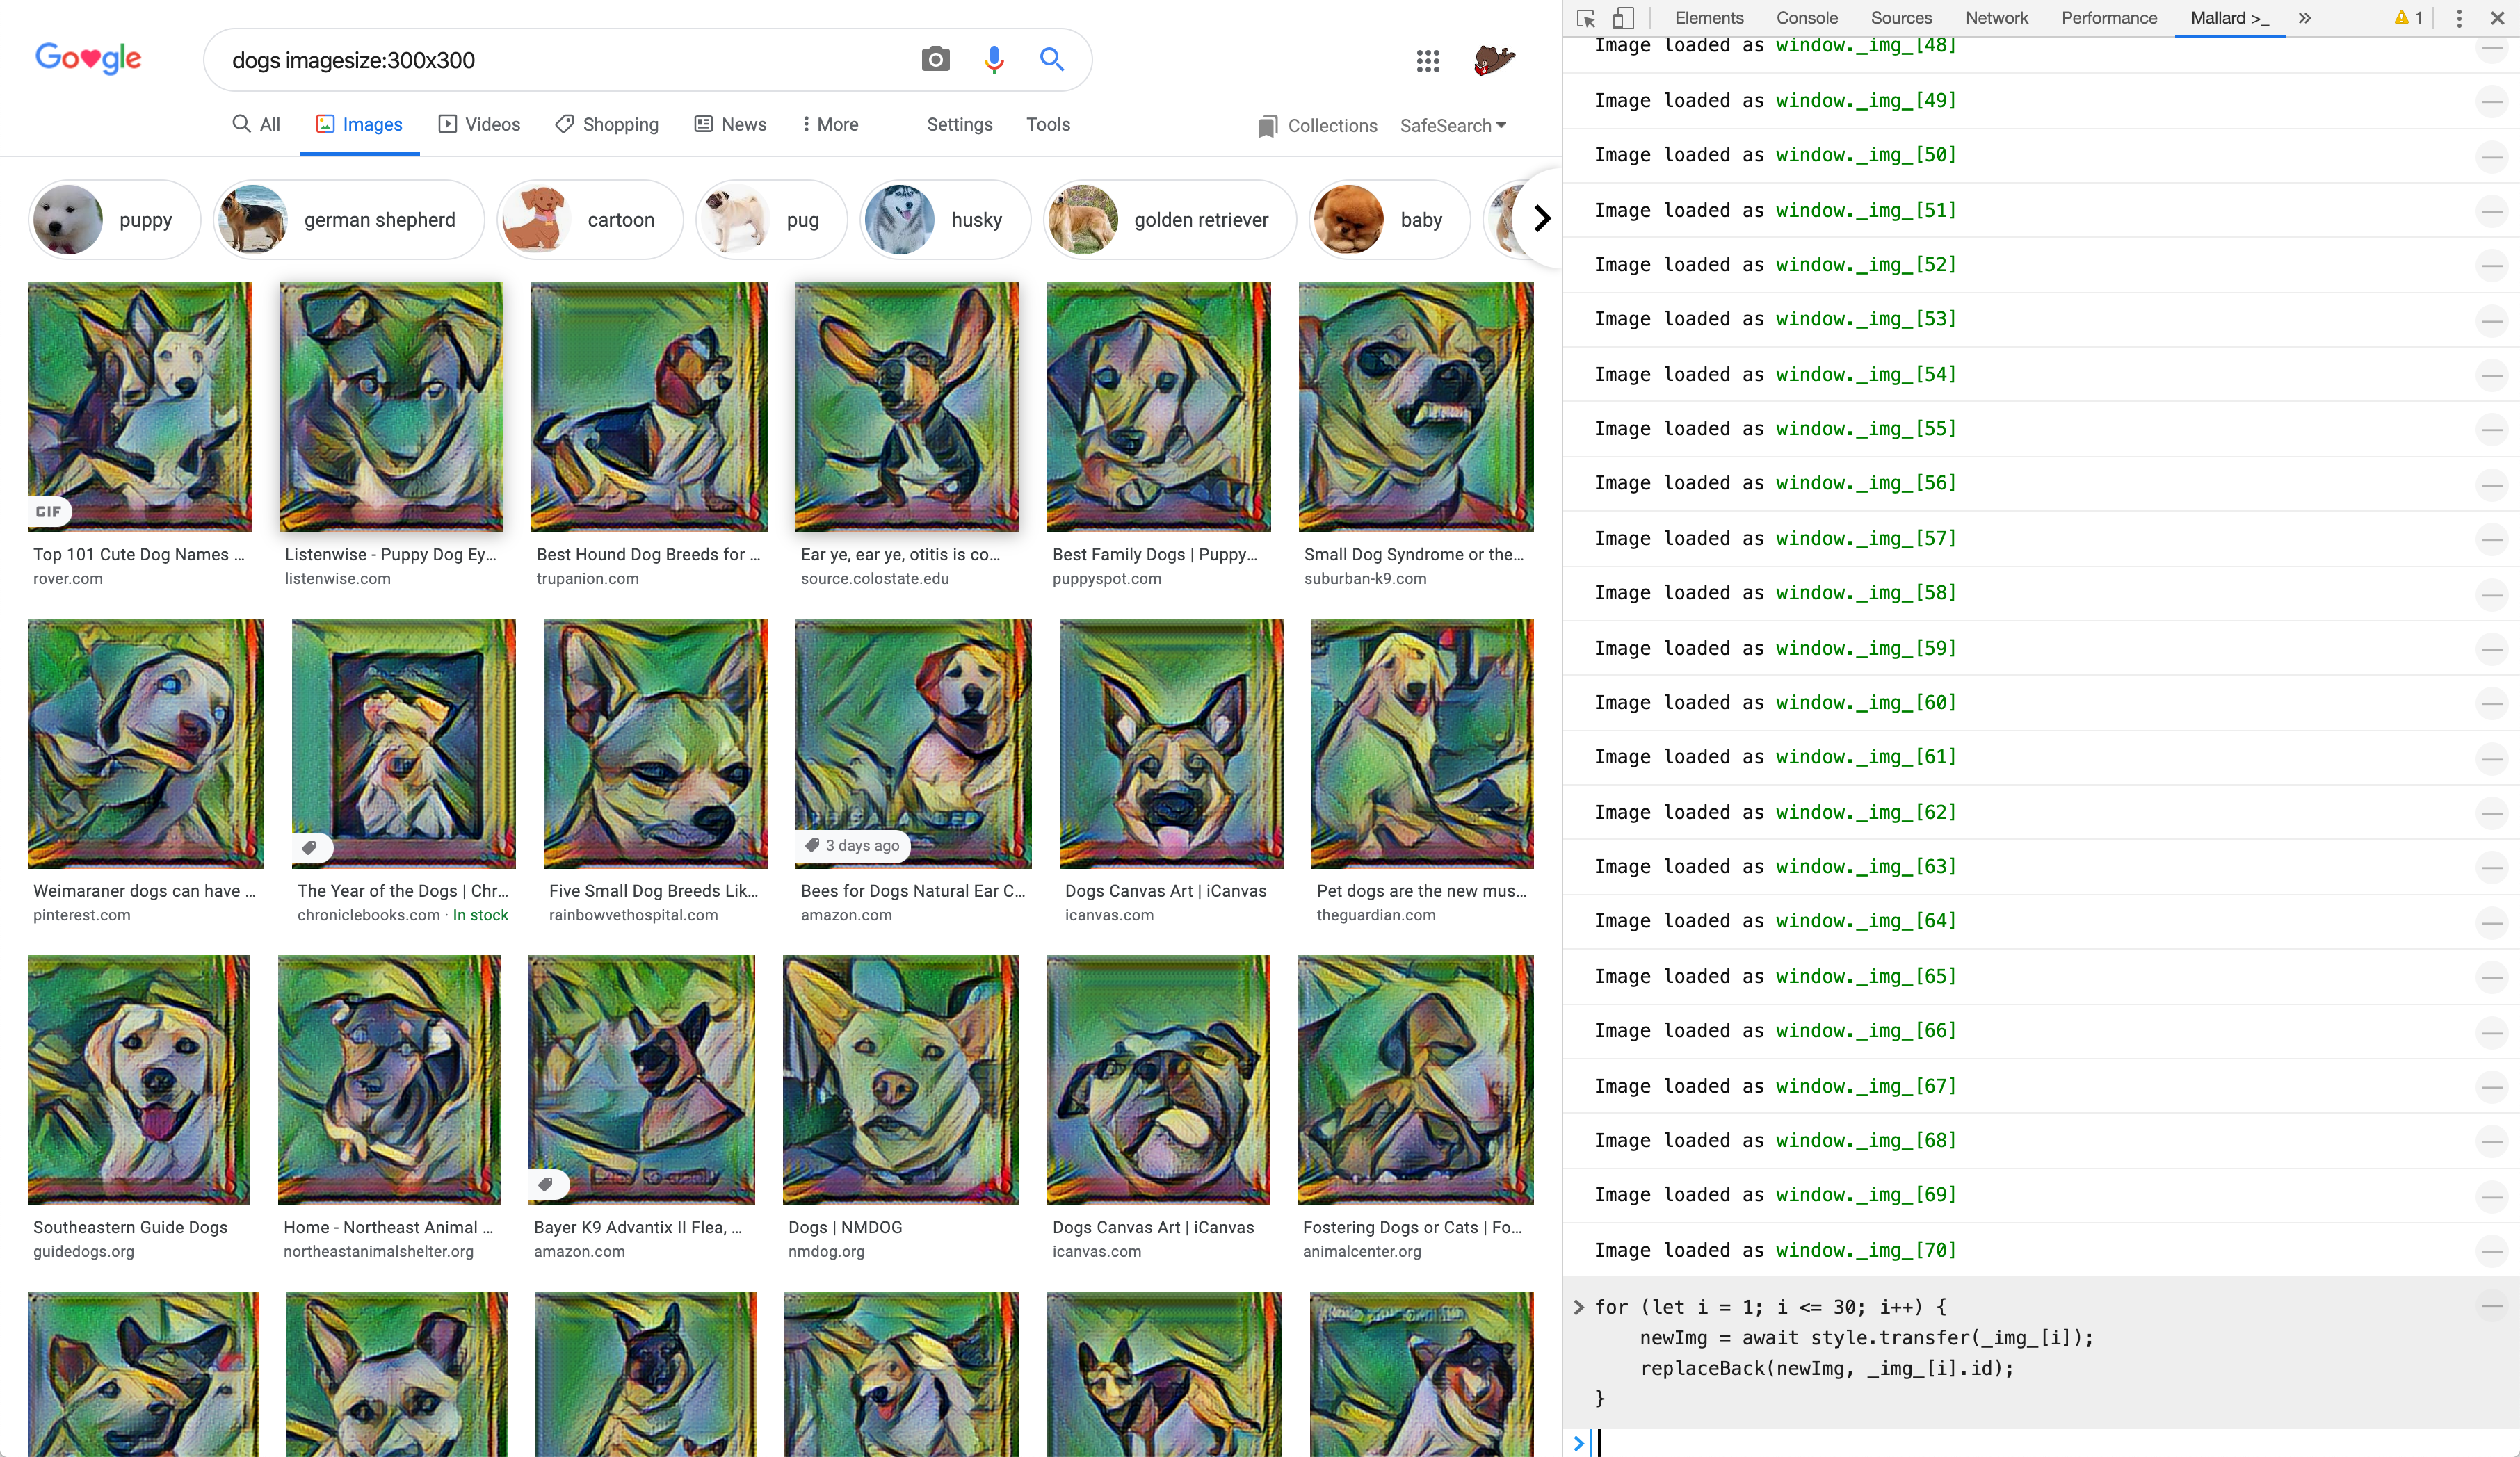
Augment Host Webpage
In addition to viewing the result of our code from the output cell, we can also put it back to the location on the host webpage. Mallard keeps track of all the acquired data, using a replaceBack function, we can augment the host page with our code outputs.
GIF Demo
Replacing a single image doesn’t look very exciting, but what if we can replace all the images? Then essentially we will be able to prototype a feature of using deep learning to augment Google Image Search, without accessing Google’s code base. Sounds a bit more cool, isn’t it?
Demo
Build Instructions
We are able to build the system with the following environment: macOS 10.15.4, node 10, webpack 4.
To build the system, in the project root, simply type npm run build (after npm install). If everything goes correctly you should be able to find the compiled and bundled js code in the build/ directory. Then load it as an unpacked extension into Chrome to test.
License
MIT